How to Choose a Cheap Wheel Bearing Without Risking Safety
The safe way to buy a cheap wheel bearing is to buy it by specification rather than by price. Match the correct generation and part number to the OE reference or a confirmed drawing, then verify four physical characteristics before the container leaves: raceway and ball finish, seal architecture, grease type and fill, and controlled axial clearance. A low-cost bearing is acceptable when the design suits the load, the seal keeps water and dust out, and the batch is traceable. It becomes a safety risk when the encoder ring is missing, the cage is loose, or the clearance is unmeasured.
What Does Cheap Mean for a Safety-Related Part Like a Wheel Bearing?
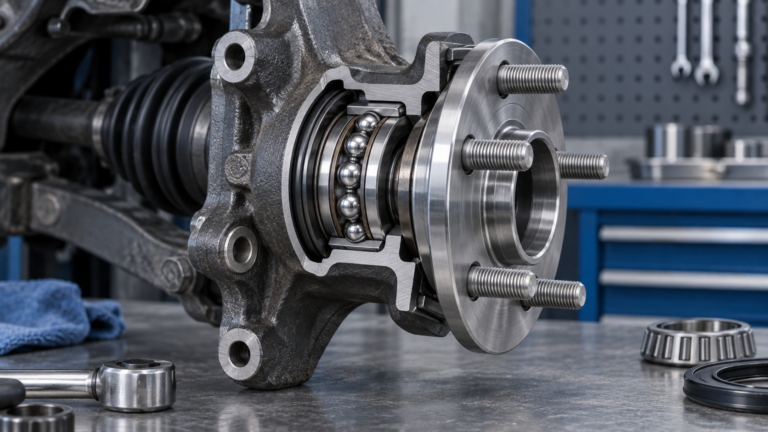
In wheel-end components, a cheap part should be judged by cost per kilometre, not by invoice price. A wheel bearing carries the full corner weight of the vehicle, transmits braking and cornering forces, and on most modern cars also holds the ABS encoder that the stability programme depends on. Its failure mode is not a nuisance noise; it is play at the wheel, brake judder, an ABS fault lamp, and in the worst case a wheel that leaves the vehicle. Buyers who want a wider view of how the wheel end interacts with braking and stability systems can read the role of wheel bearings in vehicle safety before setting a purchase standard.
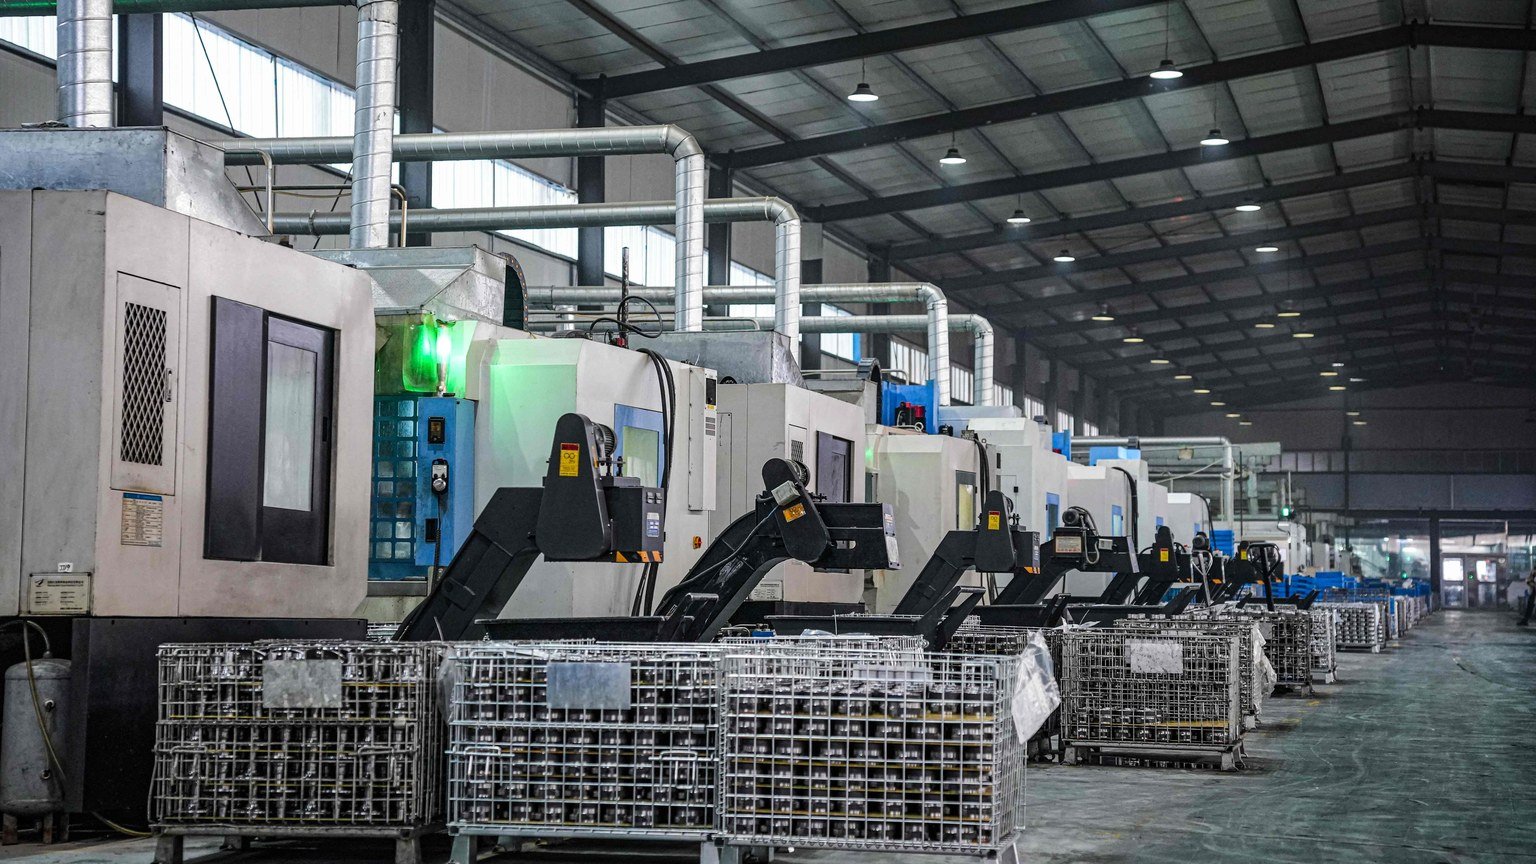
Legitimate cost reductions exist. A factory-owned brand such as HJDP, the house brand published on jnhjdp.com, can remove distributor layers, print neutral or buyer-branded packaging, and ship consolidated mixed containers. None of those changes touch the bearing itself. Illegitimate reductions are equally easy to list: lower-grade or remelted bearing steel, shallow case depth on flanged hubs, single-lip seals where the original used a cassette seal, omitted or mismatched magnetic encoder rings, uncontrolled axial clearance, and no batch marking on the box. A cheap bearing is a good buy when the saving comes from the first list and a bad buy when it comes from the second.
The commercial pressure in an aftermarket market such as Israel makes this distinction practical rather than theoretical. Importers compete on shelf price across a vehicle parc that mixes Japanese, Korean, European and American models, so several suppliers can quote the same part number at very different prices. The question is never whether the cheaper unit can be sold; it is whether the difference is visible on a bench inspection or hidden inside the seal. A structured approach to choosing high-quality wheel bearings for your vehicle turns that question into a checklist instead of a guess.
Which Wheel Bearing Generation Do You Actually Need?
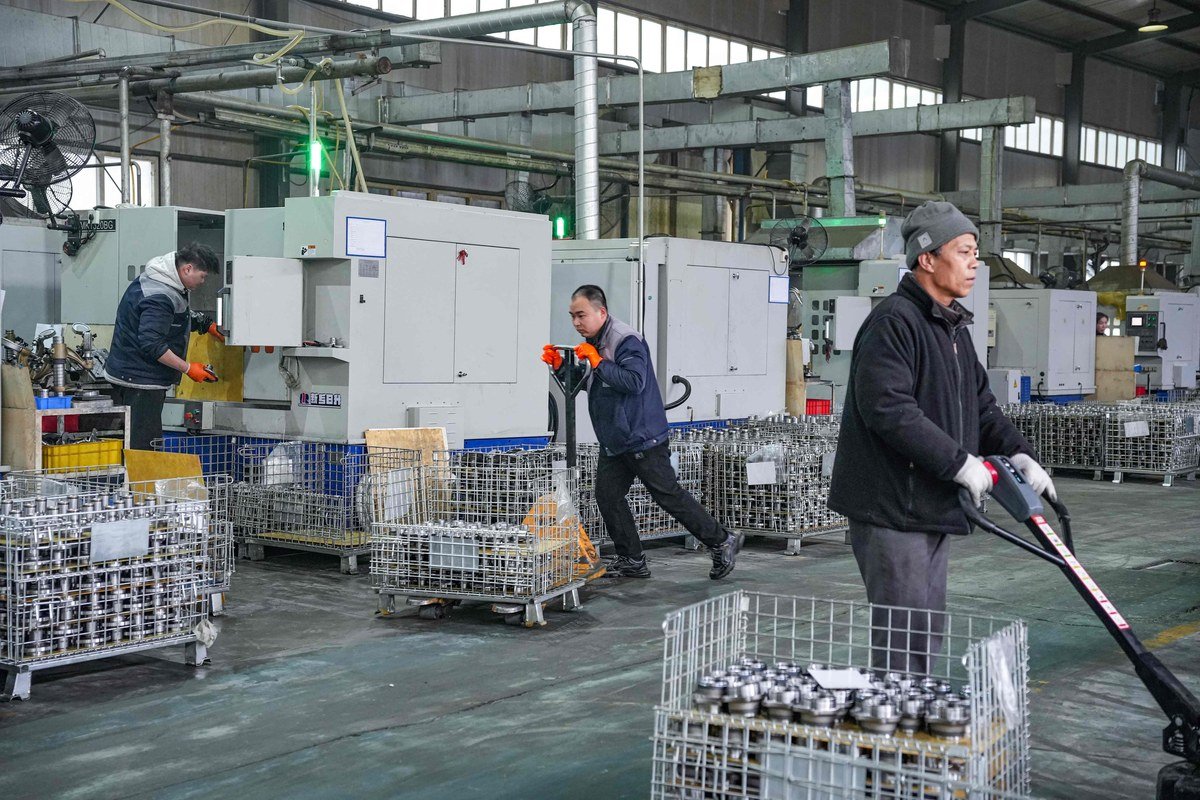
The generation of a wheel bearing decides how it mounts, how it carries load and how much ABS hardware it contains, so it must be confirmed before price is discussed. A first-generation bearing and a third-generation hub unit can serve the same corner of the same car across model years, and they are not interchangeable in either direction. Confirm the generation from the vehicle, the OE reference or a measured sample, never from a catalogue photograph.
First-generation bearings
A first-generation wheel bearing is a double-row angular contact ball bearing or a double-row tapered roller bearing with no flange. It is pressed into the knuckle or the hub and located by a circlip, a spacer or the axle nut. It is the cheapest family to produce, which also makes it the easiest place to hide a cost reduction: thin seals, minimal grease and wide clearance bands. Final preload on this design is set during installation, so the fitting procedure is part of the part’s performance.
Second-generation bearings
A second-generation unit adds a flange to the outer ring so the assembly bolts to the knuckle, the brake carrier or the drum, while the hub still comes from the original vehicle. It removes pressing work from the workshop and improves concentricity, but it also means the flange thickness, bolt pattern and seal bore all have to match exactly. A flange machined from a soft blank will not crack during fitting; it will crack later at the fillet.
Third-generation hub units
A third-generation hub unit integrates the bearing, the hub flange with the wheel bolt circle, and usually the magnetic encoder ring for the ABS sensor in one sealed assembly. It is the most sensitive to low-cost shortcuts because three functions share one part: load carrying, wheel location and wheel-speed signal. A unit that fits and turns but carries a weak or incorrectly positioned encoder will pass a bench test and fail on the road.
| Generation | What the unit includes | Load path | ABS interface | Fitting effort | Where low cost usually hides |
|---|---|---|---|---|---|
| Gen 1 | Double-row bearing only, no flange | Radial and axial load through both rows | Separate sensor ring or none | Press plus preload setting | Thin seals, low grease fill, wide clearance band |
| Gen 2 | Bearing with flanged outer ring | Combined load, flange carries bending | Encoder on the inner ring in many designs | Bolt-on, original hub retained | Flange material and case depth |
| Gen 3 | Bearing, hub flange and encoder in one unit | Combined load plus wheel location | Integrated magnetic encoder ring | Bolt-on complete assembly | Encoder pole count, seal type, cage grade |
| Hub unit assembly | Gen 3 unit supplied as a complete corner module | As Gen 3, with knuckle-side mounting | Integrated, sensor position critical | Bolt-on, no press required | Mixed components from different batches |
Where the catalogue is ambiguous, the difference between a bearing that presses in and a unit that bolts on is explained in this comparison of wheel bearing versus hub assembly designs, which is useful when training counter staff to ask for the right part.
How Do Steel Grade and Heat Treatment Separate a Cheap Bearing from a Weak One?
Two bearings can share one part number and still differ in steel cleanliness, hardening depth and grinding accuracy, and those three variables decide how long the part lasts. None of them can be seen in a product photograph, and none of them are fully revealed by a dimensional check, which is why the drawing and the inspection record matter more than the box.
Bearing steel and raceway hardness
Wheel bearings are normally made from through-hardened high-carbon chromium bearing steel, with the raceways ground and honed after heat treatment. Hardness for races and rolling elements is commonly quoted in the 58 to 62 HRC band; below that band, dents and Brinelling marks appear early under shock loads, and well above it the material becomes brittle. Inclusions and segregation in the steel behave as stress raisers and start subsurface fatigue that no amount of grease can stop. A supplier should be able to state the steel grade and hardness band on request and repeat it on the batch inspection record.
Induction-hardened flanges
On second- and third-generation units the flange is often induction hardened rather than through hardened, because the flange must resist bending while the raceway must resist rolling contact fatigue. Case depth and tempering temperature decide whether the flange survives kerb strikes or cracks at the fillet. A shallow case looks identical from outside, which makes it one of the most common hidden savings in low-cost hub units.
Rolling elements and cages
Ball roundness, raceway roughness and cage material show up in service as noise and clearance growth. Steel and polyamide cages are both acceptable when the grade suits the operating temperature; what is not acceptable is a cage that moves radially by hand, a riveted cage with visible flash, or a raceway with chatter lines that were polished out to hide a grinding problem. Grinding marks should be fine, uniform and consistent around the full circumference.
How Do Seals, Grease and Clearance Decide Whether a Budget Bearing Survives?
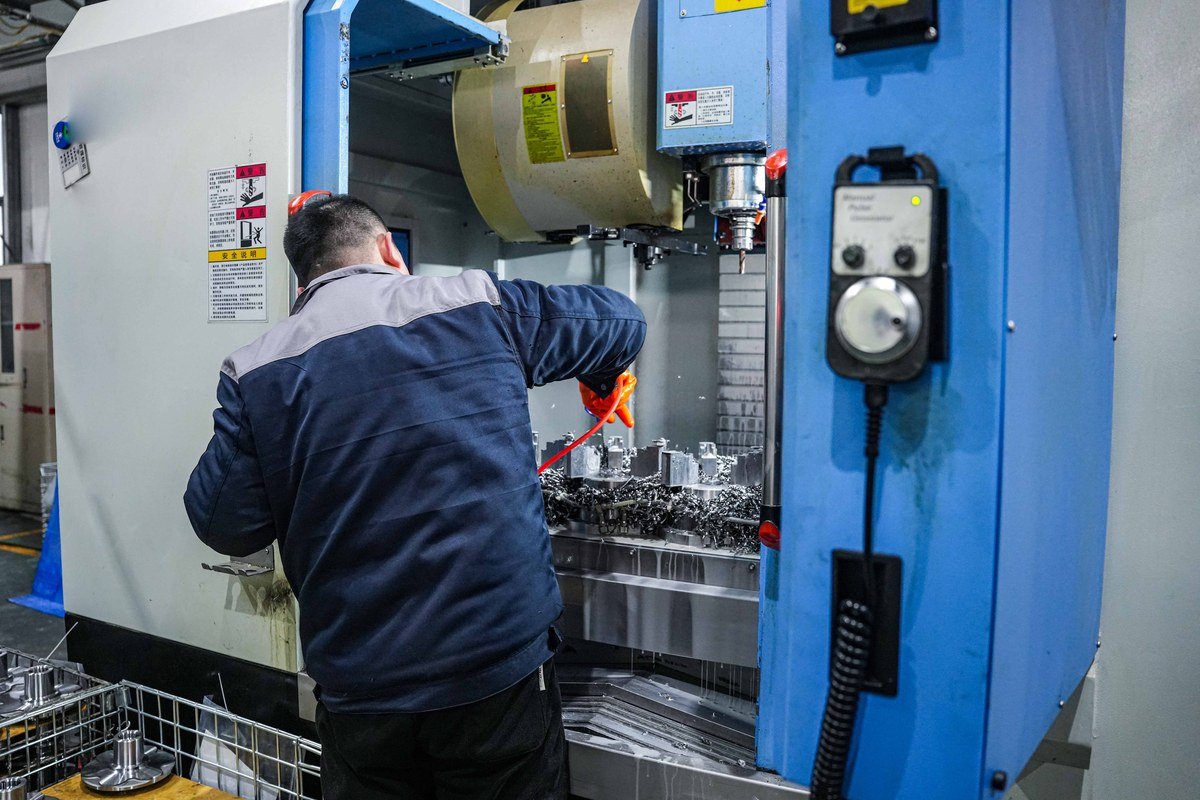
In a hot, dusty or coastal market the seal, not the steel, is usually what ends a wheel bearing’s life. Israel combines all three conditions, with humid air along the coastal strip, dry airborne dust inland and long hot summers, so seal architecture deserves more attention than the price difference between two suppliers. A single-lip seal keeps grease in but allows fine dust to migrate in with water; a double-lip or cassette seal with a secondary exclusion lip and a metal shield keeps the grease film clean for far longer. The practical checks for judging this interface are set out in a guide to wheel bearing seal inspection.
Seal architecture
A serviceable seal has at least one lip under spring tension, a secondary dust lip, and grease present between the lips. Cassette seals add a metal carrier that protects the elastomer during pressing and cleaning. Where the original used a cassette, a plain single-lip replacement is a downgrade even if every dimension is identical. Check that the seal is seated square and that the lip is not folded back, which happens when a unit is pressed by the outer ring while the seal is unsupported.
Grease type and fill
Grease choice follows temperature and speed, and lithium complex and polyurea thickeners are both common in wheel ends. The two families should not be mixed inside one bearing, because incompatible thickeners can harden and release oil. Fill level matters as well: an underfilled bearing runs hot, and a heavily overfilled one churns and pushes grease past the lip. On a sealed-for-life unit the fill is fixed at production, which is exactly why a buyer should ask what grease family the factory uses instead of assuming it matches the previous batch.
Clearance and preload
Axial clearance is stated on the drawing, often as a band only a few hundredths of a millimetre wide, and it should be measured with a dial gauge under a defined axial load. Too much clearance produces impact loading on the balls and a wandering wheel; too little produces heat and early seizure. On first-generation bearings the final preload is set at installation by the axle nut or spacer, so bearing clearance and the fitting procedure have to be treated as one system rather than two specifications.
Which Bearing Type Fits Which Position and Load?
Bearing type should follow the load path: combined radial and axial loads at the wheel end, high radial loads on shafts and gearboxes, and pure thrust at the clutch. Choosing the wrong family for a position is a more expensive mistake than choosing a lower-priced supplier inside the right family, because the wrong family changes the load path instead of just the margin.
| Bearing family | Typical position | Load character | What to confirm on the drawing |
|---|---|---|---|
| Double-row angular contact ball hub unit | Car and light van wheel ends, Gen 1 to Gen 3 | Combined radial and axial, high moment stiffness | Axial clearance band, seal type, encoder pole count |
| Tapered roller bearing, single or double row | Driven wheel ends, trailer and light truck axles | High combined load, angled raceways | Cup and cone pairing, mounting preload, cup seat depth |
| Cylindrical roller bearing | Gearbox shafts, shaft supports, selected hub designs | Very high radial, minimal axial | Radial internal clearance class, cage type, axial location |
| Tensioner and idler pulley bearing | Accessory belt drive | Light radial load at high speed with misalignment | Seal friction, grease grade, pulley concentricity |
| CV joint assembly | Driveshaft, steered and driven axle | Torque transmission through articulation | Boot material, clamp type, spline and thread detail |
| Clutch release bearing | Between clutch fork and diaphragm fingers | Axial thrust only | Guide tube fit, face flatness, seal and grease retention |
Tapered roller versus cylindrical roller bearings
Tapered roller bearings take combined radial and axial load because the roller axis and the raceway are angled, which makes them the traditional choice for driven wheel ends, trailer axles and differential pinions. They are supplied as matched cups and cones and should not be mixed between sets. Cylindrical roller bearings take very high radial load with almost no axial capacity, run cooler at high speed, and are used in gearboxes and shaft supports where axial location comes from another component.
Tensioner, idler and pulley bearings
Accessory drive bearings run at high speed with light load and constant misalignment, so seal friction and grease quality matter more than static rating. The pulley must run concentric within a small tolerance; a wobbling idler destroys the belt and eventually the tensioner arm. During fitting, route the belt with the tensioner at the correct index mark and confirm the bearing turns freely with no axial play before the belt is tensioned.
CV joint assemblies and clutch release bearings
Constant-velocity joints transmit torque through a steered and articulating angle, and their life is decided as much by the boot as by the cage and balls. Heat and ozone crack rubber boots quickly in hot climates, and once grease escapes and grit enters, the joint fails within a short distance. Clutch release bearings carry axial thrust only, so the two critical interfaces are the guide tube fit and the carbon or ball-race face that contacts the diaphragm fingers.
How Do You Inspect a Cheap Wheel Bearing Before It Reaches Your Customer?
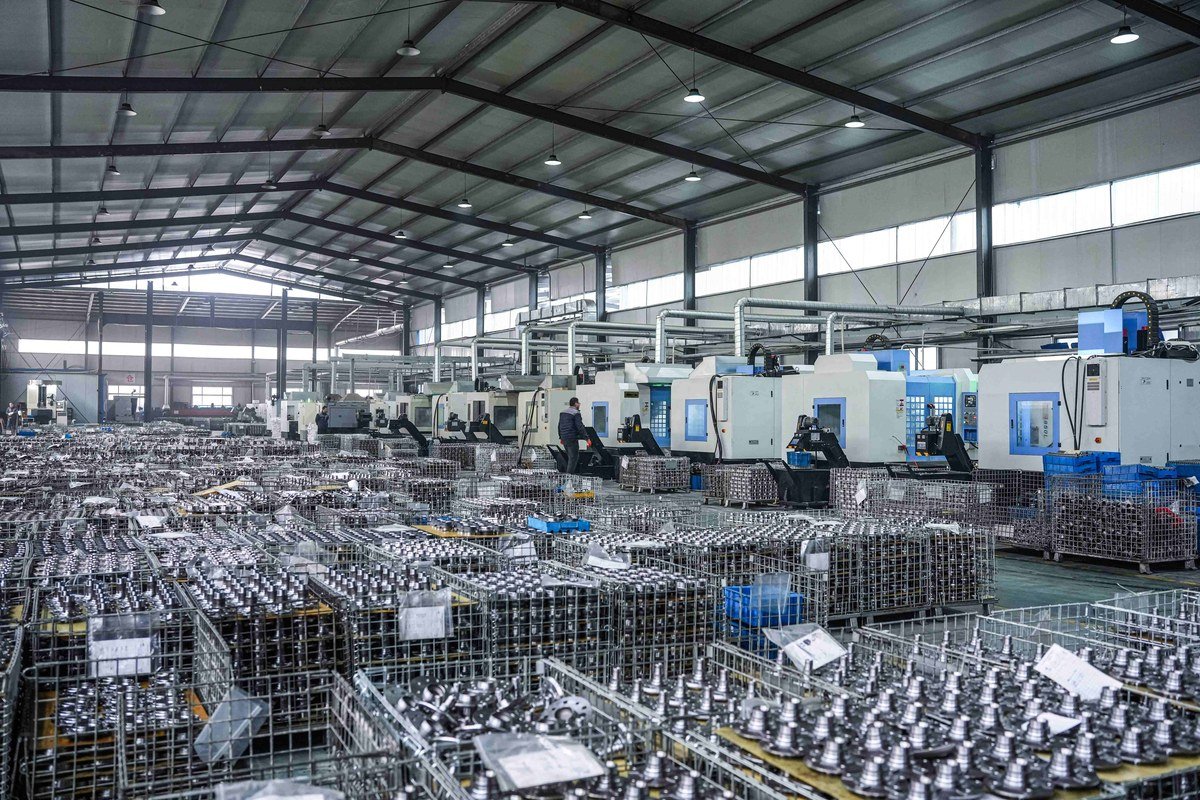
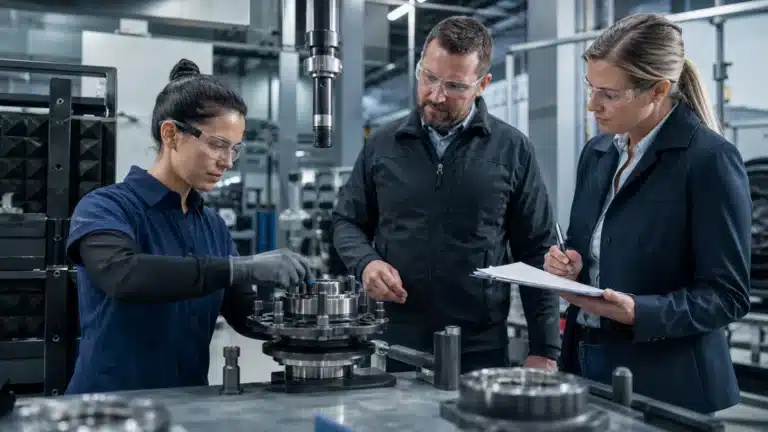
A ten-minute bench inspection catches most low-cost bearing problems before they reach a workshop. Do it on a sample from every batch rather than only on the first shipment, and record the result against the batch code so that a later claim can be traced to a delivery. The sequence below moves from the least expensive check to the most revealing one.
- Check packaging and marking against the purchase order: part number, batch or date code, quantity, and whether branded or neutral packaging was agreed.
- Compare the part to the drawing or the retained sample: flange bolt circle, overall height, bore, seal position and encoder ring location.
- Confirm the ABS encoder: pole count, ring material, position and air gap must match the original, not just the outer diameter.
- Inspect the seals: both lips present, spring fitted, no folding, no mould flash across the lip, grease visible between the lips.
- Rotate the unit by hand: smooth and slightly resistant, with no gritty feel, no catch and no free dry-sounding spin.
- Check the cage: no radial movement by hand, no flash, no cracked rivets or weld points.
- Measure axial clearance with a dial gauge under a defined axial load and compare it to the band stated on the drawing.
- Look for corrosion: rust on the raceway, flange face or encoder ring is a reject, not something to be cleaned and shipped.
| Check | Method | Accept | Reject or hold |
|---|---|---|---|
| Identity | Compare box, part and drawing | Number, batch and drawing agree | Mixed numbers in one carton, no batch code |
| Encoder ring | Visual plus pole count check | Position, width and pole count match the sample | Missing ring, glued ring, wrong pole count |
| Seal | Visual and light finger pressure | Lips flat, spring seated, grease present | Folded lip, no spring, dry seal |
| Rotation | Hand rotation in both directions | Smooth, slight resistance, quiet | Gritty, catching, free spin with dry sound |
| Cage | Light axial and radial hand movement | Firm with minimal free movement | Visible play, cracks, flash |
| Clearance | Dial gauge under axial load | Inside the drawing band | Outside the band or unmeasurable |
Where one vehicle carries several OE references across model years, resolve fitment through OE number and ABS fitment checks rather than by photograph, and write the confirmed reference into the purchase order so later batches are compared to the same standard. Counter staff who need to interpret workshop complaints can use this explanation of how to tell which wheel bearing is bad to separate bearing noise from tyre, brake and CV joint noise.
How Should a Budget Bearing Be Fitted So It Reaches Its Expected Life?
Most premature wheel bearing failures are installation failures, not manufacturing failures. A budget bearing pressed correctly routinely outlasts a premium unit pressed on the inner ring with a hammer. The three rules are simple: press only on the ring that carries the interference fit, keep the bore and the knuckle clean and burr-free, and torque the axle nut to the figure in the workshop manual using the sequence the manual specifies.
Pressing and support
When fitting into a knuckle, press on the outer ring; when fitting onto a shaft, press on the inner ring. Load passed through the balls or rollers leaves Brinelling marks on the raceways that become noise within a few thousand kilometres. Support the opposite side of the knuckle so the housing is not distorted, and never pull a hub into place with the axle nut, which strips thread and applies preload in the wrong direction. The press support points are shown in these procedures for replacing a front wheel bearing and replacing a rear wheel bearing.
Cleanliness, seals and torque
Grit left in a knuckle bore is pressed into the seal lip within the first kilometre. Wipe the bore, check for burrs and corrosion, and fit a new hub unit rather than reusing one that has been disturbed. Torque the axle nut in one continuous pull to the manual figure, use a new nut where the original is a stake or crush type, and apply the specified preload where the design uses a spacer and shim.
Post-installation checks
After fitting, spin the wheel, check for play at twelve and six o’clock, and confirm the ABS lamp extinguishes after the self-test. A short road test should produce no hum that changes with steering load. If a hum remains, diagnose it before the vehicle is handed over; the source is often the opposite side, a tyre or a wheel bearing on the other axle rather than the unit just fitted.
Frequently Asked Questions
Is a cheap wheel bearing safe if the part number matches?
A matching part number is necessary but not sufficient. The number confirms the envelope dimensions, not the steel grade, seal type, grease or encoder strength. Ask for the drawing or a sample and check the four physical points described above. When dimensions, seal architecture and clearance all match the original design, a lower-priced bearing can be used with confidence; when only the box label matches, it cannot.
How can I spot a low-quality wheel bearing before installation?
Rotate the unit by hand and listen for roughness or a dry rasp. Check that the seal lips sit flat and springy against the flange, that grease is visible under the lip, and that the cage cannot be moved side to side. Measure axial clearance with a dial gauge. Any bearing that feels gritty, has a loose cage, or shows rust on the raceway should be rejected before it reaches a workshop.
Does the ABS encoder ring have to match the original exactly?
Yes, in almost every case. The encoder is a magnetised rubber or sintered ring with a defined number of poles, and the sensor counts those poles to calculate wheel speed. A ring with the wrong pole count, wrong air gap or wrong orientation produces fault codes, disabled stability control and a failed roadworthiness test. Confirm pole count, ring position and air gap on the drawing or by sample comparison.
How long should a replacement wheel bearing last?
Life is set by seal integrity, grease retention, installation quality and road conditions rather than by price alone. In hot, dusty or coastal environments, water and dust ingress usually end a bearing long before the steel fatigues. A correctly specified, correctly pressed bearing with an intact multi-lip seal normally outlives a premium-brand unit that was installed with a hammer or with a damaged seal.