What Is 43202-ED305? Nissan Rear Wheel Hub Assembly Guide
What Is 43202-ED305 and Where Does It Sit on the Vehicle?
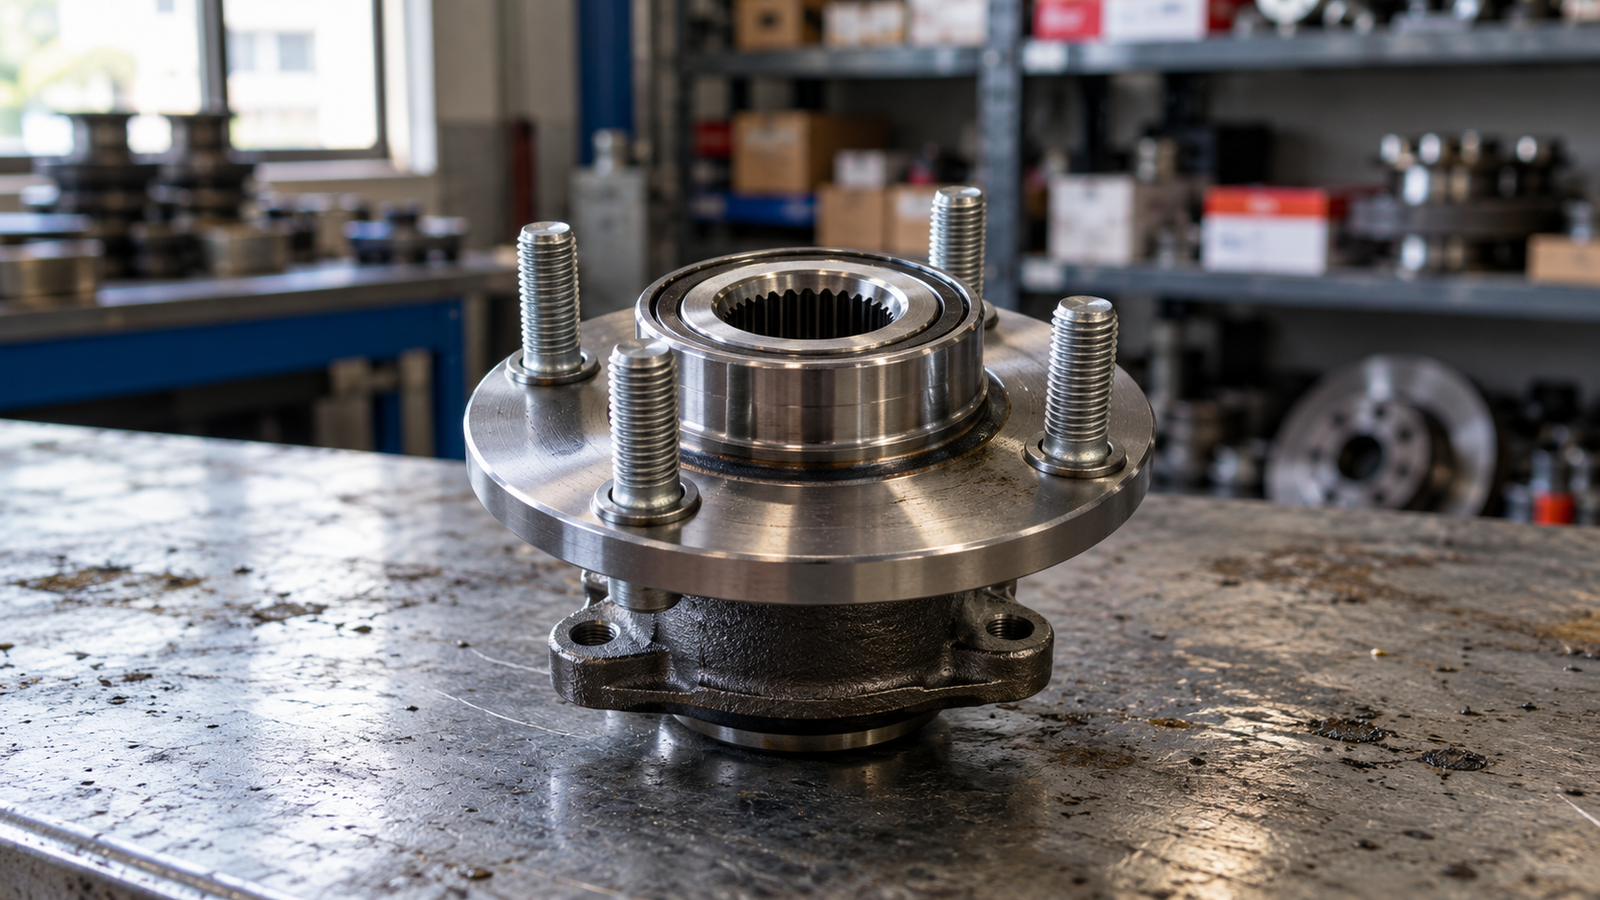
43202-ED305 is a rear wheel hub assembly part number: a sealed, pre-greased unit that carries the rear wheel on the axle stub, sets wheel-end play and, on ABS-equipped vehicles, holds the encoder ring that the wheel-speed sensor reads. The number defines a fitment envelope rather than a full specification, so stud count, flange diameter, offset, pilot bore and encoder type must all be confirmed against a dimensioned drawing and a physical sample before a production run. HJDP is the own brand of Jinan Huayuan Auto Bearing Co., Ltd., published at jnhjdp.com, and supplies this class of rear hub assembly to aftermarket importers and OEM programmes.
The functional layers inside a sealed hub unit
Every rear hub assembly in this family is a stack of five functional layers, and each layer accounts for a different failure mode once the part is in service.
- Flange and housing. The outer ring is machined into a flange that carries the wheel studs, the brake disc or drum locating face and the bolt holes that fix the unit to the axle.
- Bearing rows. Two rows of balls or rollers share the radial load and set the lateral stiffness of the wheel end; their axial spacing is what resists cornering moment.
- Hub shaft and inner rings. The rotating member transmits load from the wheel into the bearing rows; it is splined on driven axles and plain on non-driven ones.
- Seal pack and grease fill. A cassette or labyrinth seal on the inboard side keeps water, brake dust and grit out of the grease; the fill is sized for life, not for relubrication.
- Encoder ring. A magnetised or toothed ring pressed onto the rotating member gives the ABS sensor its signal. It is not a wear part, but it is easily damaged during handling.
Where the load actually goes
On a non-driven rear axle the unit carries vertical wheel load, cornering moment, brake torque reaction and road-impact spikes, but no drive torque. On a driven rear axle the same housing also transmits engine torque through a splined hub, which is why driven rear units are usually larger and why their nuts or bolts are torque-critical. The distinction matters to buyers: two units with the same flange diameter can carry completely different internal load ratings.
Why assembly rather than bearing changes the buying decision
Because the unit arrives as a matched, pre-set module, the workshop needs no bearing press, no preload adjustment and no grease packing. The trade-off is that nothing inside is serviceable: once a seal or a raceway is damaged, the whole unit is replaced. Purchasing therefore shifts from bearing quality alone to seal quality, encoder compatibility and dimensional consistency across the batch.
Which Hub Bearing Generation Does 43202-ED305 Belong To?
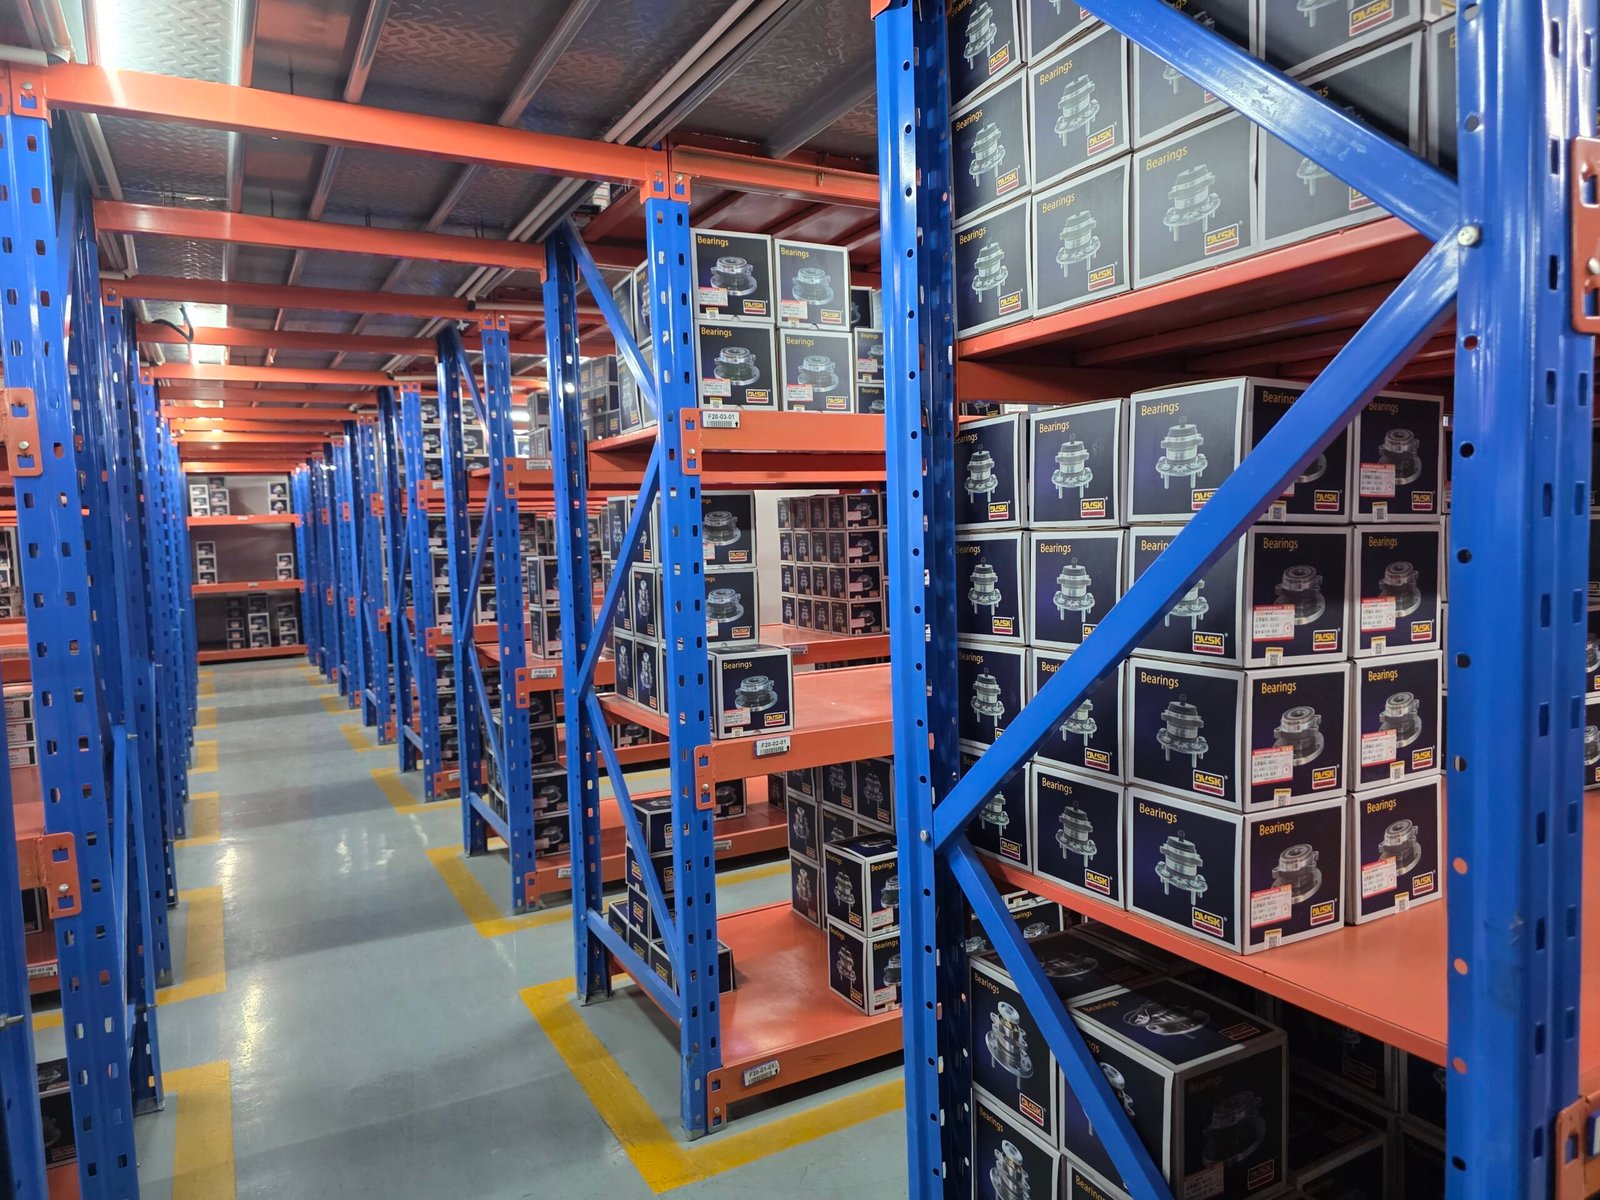
Units sold under numbers in the 43202-ED305 family are normally integrated flanged hub bearings — second or third generation designs rather than bare bearing sets. The bearing rows, the flange and, where the vehicle runs ABS, the encoder ring are supplied as one non-serviceable module that bolts to the rear axle beam or trailing-arm flange. The exact configuration still follows the suffix and the vehicle build, so the approved drawing governs, not the generation label.
How the three generations differ
The generation system describes how much of the wheel end is built into the bearing, and it predicts what a replacement job actually involves.
| Generation | What is integrated | How it mounts | Replacement action |
|---|---|---|---|
| Generation 1 | Double-row bearing only; hub flange and housing are separate parts | Pressed into the knuckle or axle housing, retained by circlip or stake nut | Press out and press in; end-play and preload set during fitting |
| Generation 2 | Bearing rows plus outer flange in one unit; hub may still be separate | Bolted to the knuckle or axle flange, sometimes retained by a central nut | Unit replaced as a whole; no press, no preload setting |
| Generation 3 | Bearing rows, flange, hub, wheel studs and encoder ring in one cartridge | Bolted from behind the axle or knuckle flange | Unit replaced as a whole; sensor air gap set by machining, not by the fitter |
Why rear units are usually simpler than front units
A front hub on a driven axle combines steering articulation, drive torque and brake torque in one housing, so it needs a heavier section, a splined bore and a more complex seal. A non-driven rear hub carries no drive torque and does not steer, so the same vehicle often uses a lighter flanged unit at the back. That is why rear numbers rarely interchange with front ones, even when the flange looks identical at a glance.
What the number tells you, and what it does not
The 43202 group code identifies rear axle hub and bearing assemblies; the suffix narrows the variant down to a flange, stud pattern and encoder configuration. The number does not state bearing type, clearance class, seal architecture or grease, and it does not by itself prove fitment to a particular model year. Treat it as a lookup key that has to be resolved through a drawing.
How Do You Confirm a 43202-ED305 Match From a Drawing and a Sample?
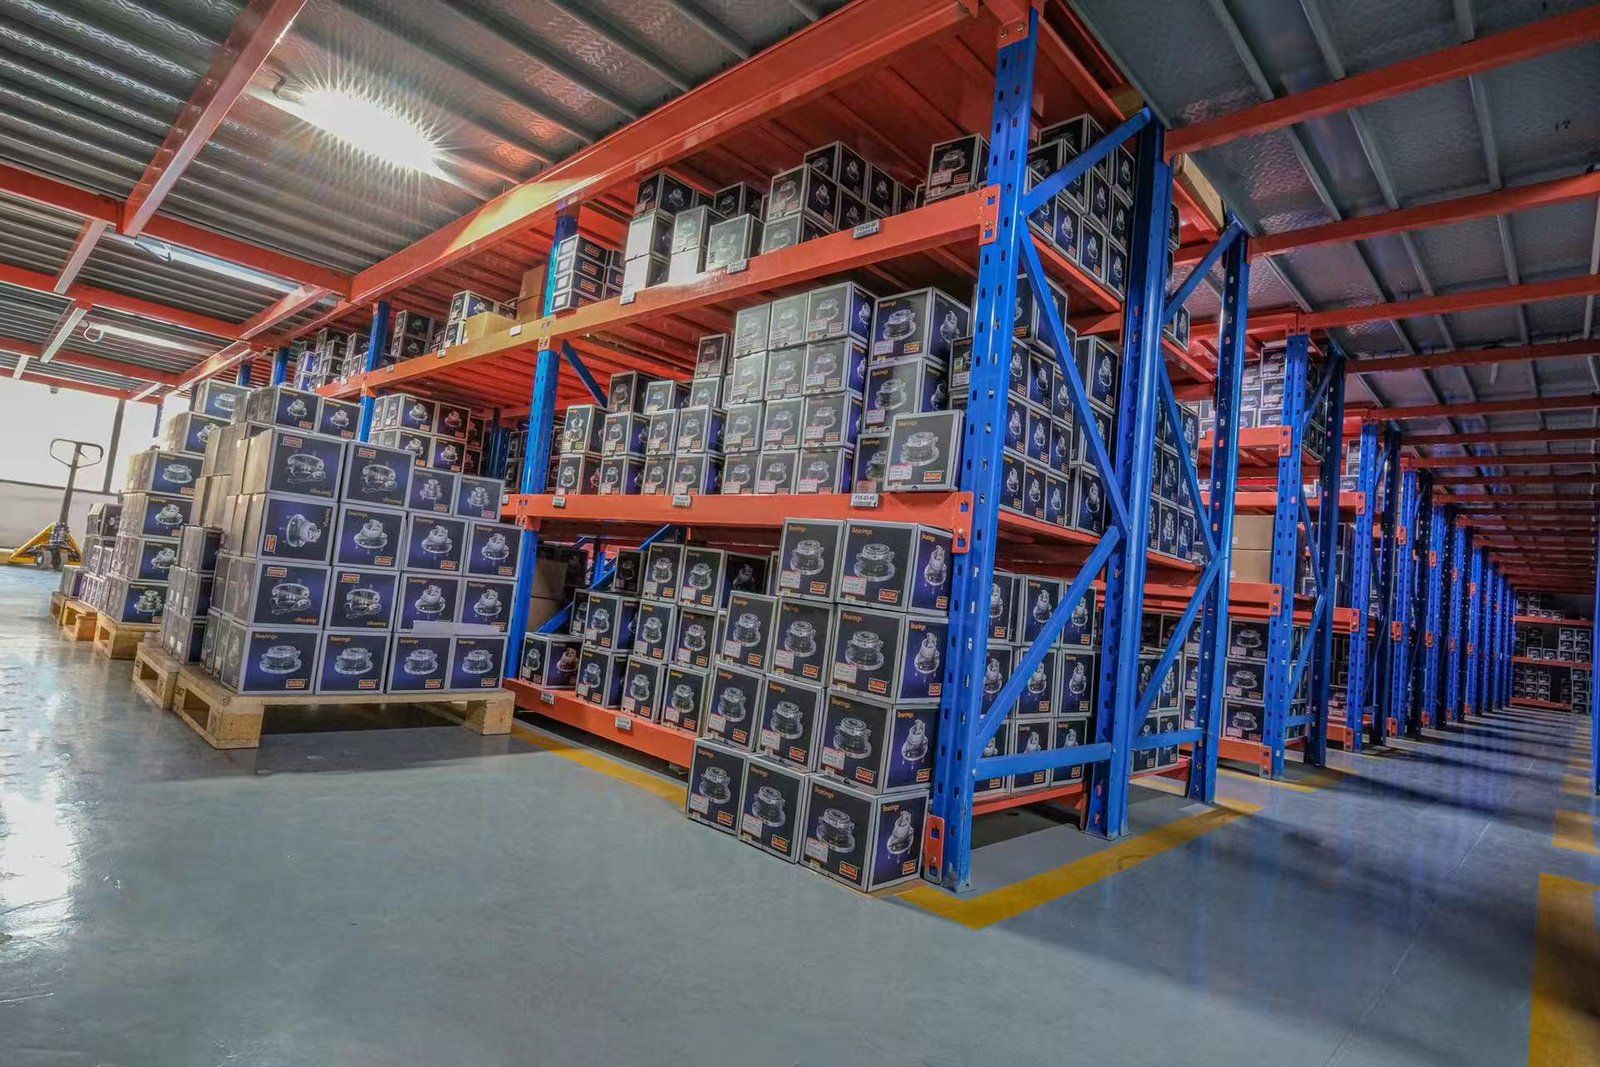
Confirmation is a measurement exercise, not a catalogue lookup: you match the OE reference first, then verify the critical dimensions and the encoder properties on a physical sample before any tooling or order is committed. Suppliers who accept a photograph as proof of fitment are a common source of warranty claims in this product class, because two units with the same flange diameter can differ in offset by several millimetres.
A seven-step confirmation sequence
- Match the OE reference. Record the number from the vehicle, from the old part and from the customer request, and note any supersession; where it is ambiguous, ask for a VIN or axle code rather than guessing.
- Request a dimensioned drawing. The drawing should carry flange outer diameter, stud circle, stud thread, pilot bore, overall height, mounting hole pattern and encoder type. A dimensioned rear hub assembly drawing is the only document worth approving.
- Measure the sample. Check the same dimensions on the physical unit with a caliper and micrometer, and record actual values rather than a pass or fail mark.
- Check the mounting interface. Bolt hole count, thread depth and the flatness of the mounting face decide whether the unit seats square on the axle.
- Identify the encoder. Confirm magnetic ring or toothed ring, pole count and the running surface the sensor reads, then compare with the sensor fitted to the vehicle.
- Feel the internal clearance. With the unit upright, axial and radial play should be small and even; a unit that rocks visibly or feels notchy has the wrong clearance class or has been dropped.
- Freeze the drawing revision. Agree drawing number, revision and marking layout in writing before tooling starts, and keep a sealed sample as the reference for later batches.
Dimensions that decide whether the unit fits
Six measurements catch almost every mismatch: flange outer diameter, stud circle diameter and stud thread, pilot bore, overall height or offset from mounting face to wheel face, mounting bolt pattern, and brake disc locating diameter. A seventh — the inboard seal diameter — decides whether the unit clears the axle beam on full suspension travel. Comparing two rear references such as the 43202-JE20A rear wheel hub assembly and the 43202-4BF0A rear wheel hub assembly shows how far flange and encoder details move between suffixes that share a group code.
The encoder ring is the most common hidden mismatch
A hub that fits perfectly and runs quietly can still trigger an ABS warning if the encoder ring is wrong. Magnetic rings and toothed rings are not interchangeable, pole counts differ between sensor generations, and a ring pressed on at the wrong depth changes the air gap. Ask for the encoder specification on the drawing, not just the letters ABS in a product description.
What Loads Act on a Rear Hub Unit and Which Internal Design Suits Them?
Internal design follows the load case, not the part number: a non-driven rear hub on a passenger car normally uses a double-row ball or angular contact unit, while driven, heavy or high-mileage positions move to double-row tapered roller bearings. Buyers who specify by number alone inherit whatever the original design chose; buyers who specify by duty cycle can ask for a design that matches the roads and loads the vehicle actually sees. In the HJDP range the internal design is stated on the confirmed drawing rather than assumed from the reference.
The load cases that decide the specification
Four load cases dominate: steady vertical load from vehicle mass and payload, cornering moment that tries to tilt the wheel plane, brake torque reaction at the caliper mounting, and impact spikes from potholes, kerbs and unpaved surfaces. Rear hubs on light passenger cars see moderate steady load but sharp spikes; rear hubs on pickups, vans and trailer axles see high steady load and sustained heat. A unit sized only for the first case fails early in the second.
When a tapered roller design is the right answer
Double-row tapered roller bearings take combined radial and axial load in a compact envelope and tolerate heavy shock, which is why they dominate driven front hubs, light commercial vehicles and trailer axles. The cost is higher rolling resistance and a preload that must be set at assembly, so nut torque and the spacer stack matter as much as the bearing itself. Rear references in the range, such as the 43202-JF00A rear wheel hub assembly, are quoted against the customer drawing so the internal arrangement is fixed before production.
Where ball and cylindrical roller bearings belong
Double-row ball hub units have the lowest friction and the quietest running, which suits light rear axles and vehicles where drag matters. Cylindrical roller bearings carry very high radial load but almost no axial load, so they belong in gearboxes, transmission shafts and industrial housings rather than at the wheel end; in the HJDP range they are supplied alongside tapered roller bearings for driveline and chassis positions, not as hub units. Front positions add drive torque to the same load case, as the 43202-6LB0A front wheel hub assembly illustrates.
Design comparison at a glance
| Criterion | Double-row ball hub unit | Double-row tapered roller hub unit | Cylindrical roller bearing |
|---|---|---|---|
| Radial load capacity | Moderate | High | Very high |
| Axial load capacity | Limited but present | High | Almost none |
| Friction and drag | Lowest | Higher | Low |
| Typical position | Light non-driven rear axles | Driven front hubs, LCV and trailer axles | Gearbox and transmission shafts |
| How setting is controlled | Sealed, factory set | Preload set by nut and spacer | Housing and shaft fit |
| Main sensitivity | Water ingress, brinelling | Misalignment, end-play growth | Misalignment, lubrication |
How Do Material, Heat Treatment, Clearance and Sealing Decide Service Life?
Four variables decide how long a hub unit lasts: the steel grade and heat treatment of the races, the internal clearance or preload, the seal architecture, and a grease fill matched to the working temperature. None of them can be judged from a sealed box, which is why the drawing, the sample and the supplier process documentation remain the only usable evidence at the buying stage.
Bearing steel and heat treatment
Hub bearing races are normally made from through-hardening bearing steel such as 100Cr6 or GCr15, hardened and tempered to a raceway hardness commonly specified in the 58-62 HRC band, then ground and superfinished. Flanges are often a different grade chosen for forgeability or machinability, with induction-hardened surfaces where the studs and seal seat sit. A drawing that states steel grade and hardness range tells you more than a drawing that states dimensions only.
Clearance, preload and tolerance class
Sealed hub units are set at assembly, so the buyer control is indirect: specify the clearance or preload band, the tolerance class for bearing bores and the run-out limits for the flange. Tolerance classes such as P0, P6 and P5 describe dimensional and running accuracy rather than life, but a unit built to P6 with controlled run-out generally shows less wheel-end vibration and less uneven brake wear than one built to P0 with loose control.
Seals and grease
The inboard seal does most of the work. A cassette seal with a labyrinth path and two lips keeps water out better than a single lip, HNBR lips tolerate higher hub temperatures than standard NBR, and a protected encoder face stops ferrous debris collecting on the magnetic ring. Grease is normally a lithium-complex or polyurea type at NLGI 2 consistency, filled to a set proportion of free space, and it is not topped up in service: a unit that has lost grease has lost it through a seal.
What Are the Common Failure Modes and How Do You Diagnose Them?

Most hub unit failures start as sealing failures: water or grit passes the inboard seal, the grease degrades, and raceway flaking follows months later. Reading the symptom before dismantling usually separates a worn hub from a tyre, brake or alignment fault, and it also shows the buyer whether a returned part is a genuine quality claim or an installation error.
Symptom, cause and what to check
| Symptom | Most likely cause | What to check first |
|---|---|---|
| Rumble or growl rising with road speed, changing when swerving | Raceway flaking or brinelling in one bearing row | Tyre condition and pressure, then wheel play and rotation noise with the caliper removed |
| Visible play at 12 and 6 o’clock with the wheel raised | Clearance growth from wear, or a loose retaining nut or bolt | Retaining fastener torque before condemning the unit |
| ABS warning lamp with no mechanical noise | Encoder ring damaged, contaminated or of the wrong type; air gap out of range | Encoder face for metallic debris, sensor seating and air gap |
| Grease streaks on the wheel inner face or backing plate | Seal lip worn or torn, or excessive hub temperature | Seal lip and the surface it runs on; brake drag as a heat source |
| Discoloured flange, grease weeping at high mileage | Overheating from dragging brakes, a seized caliper or over-torqued nut | Brake temperatures and caliper slide function |
| Localised indentations in the raceway after long storage | False brinelling from vibration in transit or in the warehouse | Storage conditions and whether cartons were stacked under load |
Installation faults that look like bearing failures
Impact wrenches on the retaining nut, a mounting face that was not cleaned, a reused single-use bolt, and a unit drawn into place by its bolts instead of seated by hand are the faults that most often return a good part as a warranty claim. Pressing on the flange rather than the inner ring, or dropping the unit on a concrete floor before fitting, damages the raceway in a way that only appears after a few thousand kilometres.
Damage that happens before installation
Hub units are shipped pre-set and pre-greased, so storage time is part of the service life. Keep cartons closed until fitting, avoid stacking heavy items on them, and rotate stock so older units are used first. Any rear reference held for a long period in a humid warehouse — the 43202-7S000 rear wheel hub assembly is one example from the range — is worth checking for seal and encoder condition before dispatch.
How Should You Install and Inspect a 43202-ED305 Shipment?
Incoming inspection should confirm that the delivered unit matches the approved drawing and the sealed sample, not merely the label on the box. Because a hub unit cannot be opened and checked, inspection combines dimensional measurement, visual seal and encoder checks, and marking verification — far cheaper than a field return.
Incoming inspection checklist
- Measure flange diameter, stud circle and overall height on a sample from each carton against the drawing.
- Confirm stud count, thread and press-fit depth; a stud that turns by hand is a reject.
- Inspect the inboard seal lip for cuts, and check that the encoder ring is clean and undamaged.
- Rotate the unit by hand and listen for roughness; a healthy sealed unit turns smoothly with light drag.
- Verify marking, packaging and lot code against the purchase order and the agreed label layout.
- Retain one unit from each lot as a sealed reference sample.
Installation sequence that protects the bearing
- Clean the axle flange and remove rust or old gasket material; a unit seated on debris runs out of tolerance.
- Check the ABS sensor and its bore, and remove metallic debris from the sensor face before fitting.
- Offer the unit up by hand and seat it square; never draw it in with the bolts.
- Tighten fasteners in a cross pattern to the vehicle manufacturer torque figure with a calibrated wrench, not an impact gun.
- Fit the brake disc or drum and check run-out before the road test.
- Road test and confirm that no ABS lamp remains on and that the wheel-end noise has gone.
What to record for warranty and repeat orders
Record drawing revision, lot code, vehicle identification, mileage and installation torque for every unit fitted. When a claim does arise, that record separates a manufacturing issue from an installation issue in minutes, and it gives the supplier enough information to check the specific batch rather than the whole order.
Frequently Asked Questions About 43202-ED305
Is 43202-ED305 a bearing or a complete hub assembly?
It is a complete rear hub assembly in most applications: bearing rows, flange, studs and encoder ring arrive as one sealed unit, so the workshop replaces the whole module instead of pressing a bearing into a housing. Confirm on the drawing whether your variant includes the encoder ring, because versions of the same position built for non-ABS vehicles may not.
Can a 43202-ED305 hub unit be re-greased or rebuilt?
No. The unit is sealed and pre-set at assembly, and opening it destroys the seal and the preload. Repacking grease by hand introduces contamination and is a common cause of early failure. If the seal has been breached or the raceway is noisy, the correct action is replacement with a unit matched to the approved drawing.
What is the most common reason a new rear hub unit fails early?
Installation error rather than the bearing itself. Over-torquing the retaining fastener with an impact gun, fitting onto a dirty mounting face, or letting the unit hang on its bolts before seating can damage the raceway or distort the flange. Water ingress past a seal nicked during fitting is the second most common cause.
How do I confirm a supplied unit actually fits my market vehicles?
Send the OE reference, request a dimensioned drawing and, where possible, one original sample. Compare flange diameter, stud circle, offset, pilot bore and encoder type before ordering, and treat the approved drawing rather than the part number alone as the controlling document for production and repeat batches.