43402M68P02 Rear Wheel Hub Assembly: What Buyers Should Check
43402M68P02 is an OEM-style part number for a rear wheel hub assembly: a sealed unit that carries the rear stub axle, holds the wheel and brake register in position, and lets the wheel rotate on a bearing set greased and preloaded at the factory. Buyers searching this number are replacing a noisy or worn rear hub on a compact passenger car, not buying a loose bearing, so fitment detail matters as much as bearing quality. At jnhjdp.com, the HJDP brand lists this number as a complete rear hub assembly, with dimensions, encoder provision and flange detail confirmed against your drawing and a physical sample before an order is produced.
What Is 43402M68P02 and What Does a Rear Wheel Hub Assembly Do?
What the part number actually tells you
43402M68P02 identifies a complete rear wheel hub assembly, not a loose bearing. OE numbers in this family follow a common Asian pattern: a short family code, a platform or position segment, a design code and a final revision character. The revision character is the element resellers most often overlook, because two hubs that look identical on a shelf can differ in flange diameter, stud thread, brake register depth, wheel-speed sensor provision or bearing internal clearance. None of those differences appear in a catalogue photograph. The working rule for every number in this family is therefore that fitment is confirmed against a drawing and a physical sample before production. The HJDP 43402M68P02 rear wheel hub assembly listing shows how the assembly-level description is presented for this number, and it is the right starting point for comparing your own catalogue data.
What is inside a rear wheel hub assembly
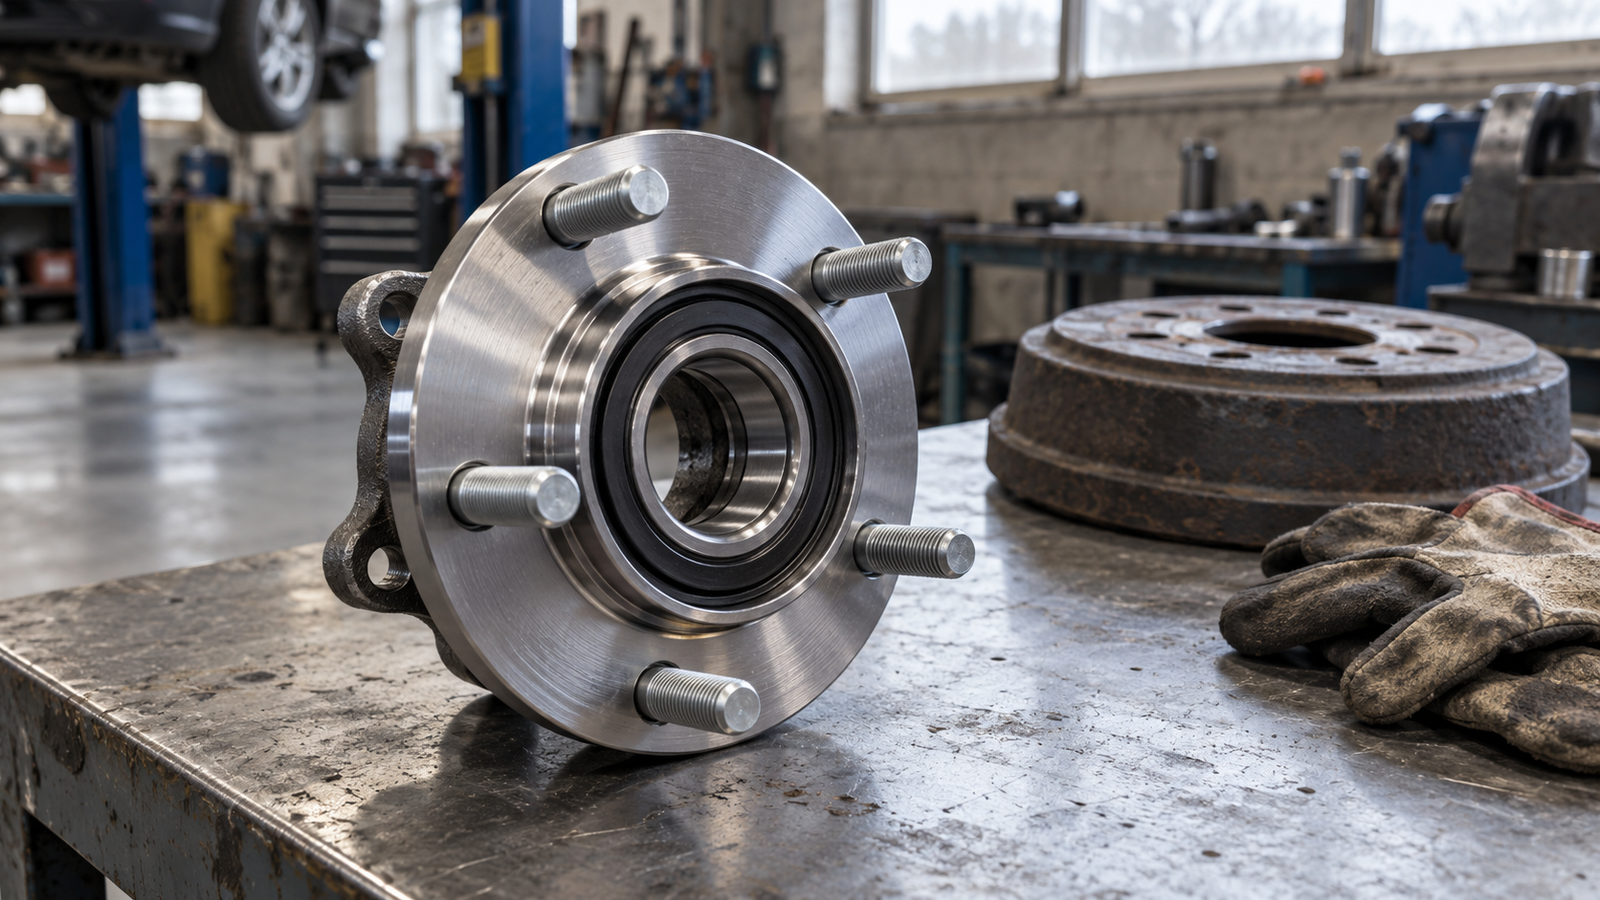
A rear hub assembly is a pre-set bearing unit. It carries the rear stub axle or spindle, holds the wheel and the brake drum or disc in the correct position, and allows rotation with controlled friction and controlled play. The parts that decide whether it fits and lasts are:
- Hub flange — the wheel mounting face, with press-in studs or threaded bolt holes and a centre spigot that registers the rim.
- Bearing set — a double-row angular contact ball bearing on most passenger-car rear hubs, or two opposed tapered roller rows where rear axle loads are higher.
- Housing and races — in a Gen 2 or Gen 3 unit the outer race is machined into the housing or flange, so the bearing is not a separately replaceable part.
- Seals — an outboard seal, usually a multi-lip or labyrinth cassette design, plus an inboard seal or shield that keeps splash water and road grit out of the grease.
- Grease — a factory fill intended to last the life of the unit. There is no grease nipple and no service interval, which is why seal integrity is the entire lubrication strategy.
- Wheel-speed encoder — a magnetic or induction tone ring read by the ABS sensor, mounted on the inboard or outboard face depending on the design.
- Stub axle or spindle — present on designs where the axle stub is supplied together with the hub rather than remaining bolted to the axle beam.
Rear hub assembly versus a bare rear wheel bearing
The difference is who performs the setting. A bare bearing pair must be pressed into the housing, greased, sealed and preloaded on the vehicle, which requires a press, the correct adapters and the manufacturer’s torque or end-play figure. A hub assembly arrives pre-set, with the grease sealed in and the encoder already fitted, normally secured by four bolts or a single axle nut. Repair shops search a number such as 43402M68P02 because the assembly route removes the preload judgement from the job and shortens bay time. Importers should note the trade-off: the assembly includes the flange and housing, so its landed cost is higher than a bearing pair even though the fitting risk is lower.
Which Wheel Hub Bearing Generation Do You Need — Gen 1, Gen 2 or Gen 3?
Generation numbers describe how much of the wheel-end assembly is integrated, not the quality of the bearing. Gen 1 is the simplest to manufacture and the most demanding to install; Gen 3 is the most complete and the most sensitive to flange and encoder detail. Choosing the wrong generation is the most common sourcing error on wheel-end parts.
| Generation | What is integrated | How it mounts | Typical position | Replacement implication |
|---|---|---|---|---|
| Gen 1 | Bearing pair with separate inner and outer races; no hub flange | Pressed into the hub or knuckle; axle nut sets preload | Older passenger cars and light commercial vehicles, front and rear | Needs a press, adapters and a torque or end-play figure; seals fitted separately |
| Gen 2 | Bearing plus wheel flange; outer race integrated into the housing | Bolted to the axle beam or trailing arm | Rear drum and rear disc axles on compact and mid-size cars | Bearing not serviceable; seal and encoder condition decide noise complaints |
| Gen 3 | Bearing, wheel flange, encoder and mounting flange in one unit | Four bolts to the knuckle or axle | Modern passenger-car front and rear corners | Bolt count and encoder type must be matched exactly |
| Hub unit with stub axle | Gen 2 or Gen 3 hub supplied together with the axle stub where the design uses one | Bolted or nut-secured to the rear axle beam | Rear positions where stub and bearing are renewed together | Spline, thread and shoulder position matter as much as the bearing |
Rear positions are usually simpler than front positions: many rear axles use a Gen 2 style unit running on a stub axle, which is the arrangement a rear hub assembly rather than a bare bearing pair is built for. If a customer asks for a rear hub and you quote a Gen 1 bearing pair, you will usually be selling the wrong part to the wrong workshop.
Generation details that change an order
- Encoder type and side — a magnetic ring and an induction ring are not interchangeable, and the sensor reads from one specific face.
- Bolt count and circle — three, four or five mounting bolts, each with a defined pitch circle diameter and thread.
- Flange offset — the distance from the mounting face to the wheel face, plus the diameter and depth of the drum or disc register.
- Studs or bolts — press-in studs dominate Asian and North American practice; wheel bolts are common on European vehicles.
- Seal running surface — whether the inboard seal runs directly on the stub axle or on a separate sleeve, which changes what must be renewed together.
How Do You Cross-Reference 43402M68P02 to a Hub Unit That Fits?
Cross-referencing starts with measured dimensions, not with a matching catalogue number. OE numbers are superseded, regionally varied and frequently mistyped; a caliper and a micrometer are not.
The measurements that decide fitment
- Bearing bore and the outer diameter of the housing flange.
- Flange outer diameter and wheel face thickness.
- Flange offset: mounting face to wheel face, measured with the unit standing square on a flat surface.
- Stud count, thread, knurl diameter and pitch circle diameter.
- Brake register diameter and depth for drum or disc location.
- Stub axle diameter, thread, shoulder position and any keyway or spline.
- Encoder type, ring diameter and the face the sensor reads.
Why the encoder is the usual cause of a comeback
A hub with correct dimensions but the wrong tone ring will fit, roll quietly and still trigger an ABS warning lamp within a few hundred metres of driving. Magnetic and induction encoders are not interchangeable, a magnetic ring can be damaged by a careless press or by contact with a magnetic tool during handling, and a ring that has collected metal debris will produce an erratic signal. When a customer reports an ABS fault immediately after a hub replacement, check encoder type, air gap and sensor face condition before blaming the bearing. The product page for the HJDP rear wheel hub assembly 43402M68P02 is the reference point for the encoder and flange configuration quoted for this number.
What to send for a confirmed quotation
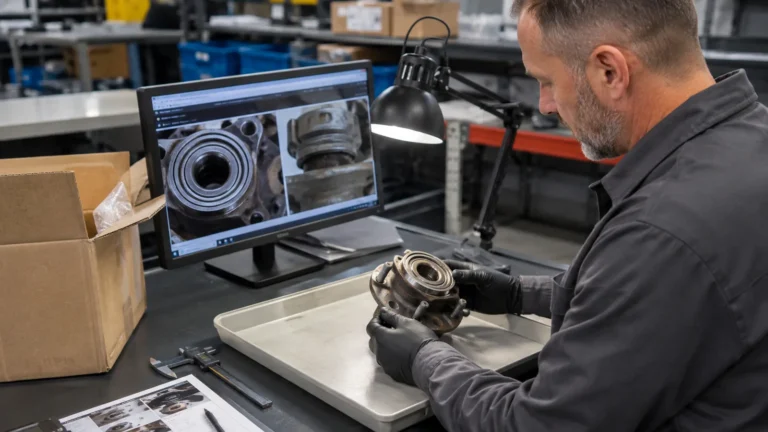
Send the OE number exactly as printed, the vehicle data your customer supplied, photographs of the old unit from both faces, and a dimensional sketch or drawing where one exists. Where no drawing is available, HJDP can work from a physical sample so that bore, flange, encoder and seal details are verified before production. In every case, treat the final specification as agreed by drawing and sample rather than by catalogue equivalence, and keep the approved sample as the reference for your own incoming inspection.
How Are Wheel Hub Bearings Sealed, Lubricated and Preloaded?
Sealing, grease fill and preload decide how long a hub bearing lasts — usually more than the steel grade does. Contamination and loss of preload are the two failure routes that matter in the field, and both are decided at manufacture and at installation.
Sealing architecture on a rear hub
A rear hub seal must keep water, salt, brake dust and pressure-wash spray away from a grease fill intended to last the life of the unit. Three details matter. First, lip material: nitrile rubber for ordinary service, and fluoroelastomer grades where higher running temperatures are expected. Second, lip count: a single lip is common in light duty, while a multi-lip or cassette seal with an internal grease barrier is normal where the axle sees water crossings or heavy splash. Third, the running surface: a seal lip running on a corroded or scored stub axle will leak regardless of seal quality, so inspect the axle surface whenever a hub is replaced. Tapered roller hub designs often add a separate inner seal and a defined grease cavity, while sealed double-row ball hub units depend on the factory fill alone.
Grease fill and what sealed for life really means
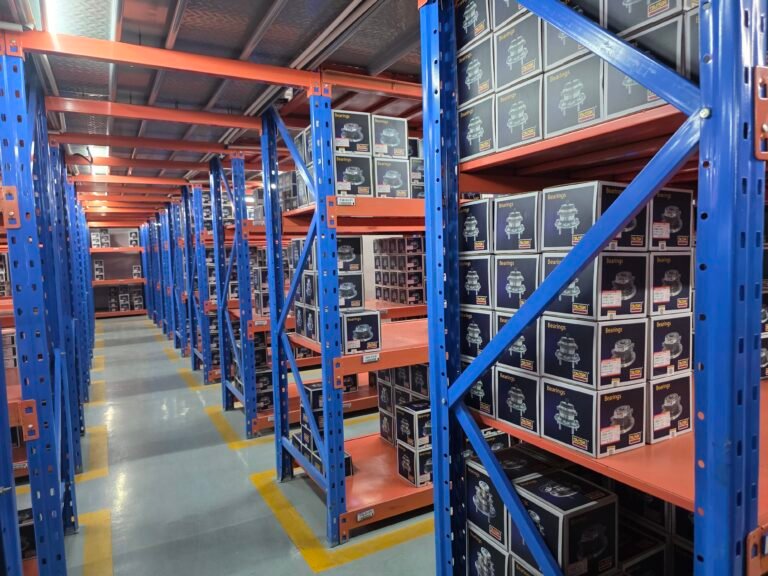
Sealed for life means the grease quantity and base oil are selected for the bearing’s design life, with no re-lubrication point on the vehicle. That has two consequences for buyers. A unit that has lost grease through a damaged seal cannot be topped up; it is a replacement item. And a unit stored badly — a damp warehouse, wide temperature swings, condensation inside the carton — can show race corrosion before it is ever fitted. For that reason, packaging and storage conditions belong in a supplier audit, and rust on races or bore is a rejection criterion at goods-in.
Clearance, preload and where tapered and cylindrical roller bearings differ
Internal clearance is the total play between rolling elements and races before load is applied; preload is negative clearance applied deliberately so the rolling elements stay loaded under all conditions. Too much clearance produces noise, poor wheel location and load concentration on a few rollers. Too much preload produces heat and early fatigue. On a sealed hub unit the setting is made at the factory and cannot be adjusted, so the buyer’s check is rotational feel and end play. On a tapered roller hub adjusted on the vehicle, the setting is made by the axle nut or by shims and verified as end play or rolling torque. Cylindrical roller bearings behave differently again: they carry high radial load but locate the shaft in one direction only, so a separate shoulder or a paired bearing provides axial location. The same logic appears away from the wheel end — belt tensioner and pulley bearings are pre-set and sealed, while constant velocity joint assemblies are greased inside a flexible boot rather than behind a lip seal, which is why boot integrity rather than bearing wear is the usual failure mode there.
| Bearing type | Load it carries | How clearance or preload is set | Typical automotive position |
|---|---|---|---|
| Double-row angular contact ball | Radial load plus moderate axial load in both directions | Pre-set by the bearing maker; not adjustable in service | Sealed wheel hub units, Gen 2 and Gen 3 hubs |
| Tapered roller, single or paired | Heavy combined radial and axial load | Set by axle nut or shim; verified as end play or rolling torque | Rear axle hubs, differential pinion and carrier, heavier wheel ends |
| Cylindrical roller | Very high radial load; limited axial capacity | Radial internal clearance; axial location by a separate shoulder | Gearbox and shaft positions where radial load dominates |
| Tensioner and pulley ball units | Radial load from belt tension with light axial load | Pre-set and sealed at manufacture | Timing and serpentine belt tensioner pulleys |
What Makes a Rear Hub Bearing Fail, and How Do You Diagnose It?
Most wheel bearing failures in service trace back to contamination, incorrect installation or impact damage rather than to the steel. That is useful commercially: the same evidence that explains a failure also shows whether a claim is a manufacturing issue or a fitting issue.
The failure modes you will actually see
- Water or grit ingress — a leaking or damaged seal admits abrasive slurry; races show dull grey wear and the grease turns dark and gritty.
- Spalling and fatigue pitting — flaking of the race surface, typically after water ingress, misalignment or an overload event.
- Brinelling — evenly spaced indentations caused by impact, by a drop in transit or by pressing on a race instead of the intended fitting face.
- Race creep — the outer race or housing has spun, leaving a polished, discoloured seat; the housing is then out of tolerance and a new hub alone will not remove the noise.
- Corrosion — rust bands from storage or from standing after a leak, common on vehicles used seasonally.
- Encoder damage — a hub that runs quietly yet brings on the ABS lamp, caused by the wrong ring type, a damaged ring or metal debris on the sensor face.
Separating hub noise from tyre, brake and driveline noise
- Road-test first, and note whether the noise follows road speed, follows cornering load, or appears only under braking.
- Load-transfer test: a wheel bearing normally gets louder when its corner is loaded and quieter when unloaded, while tyre and differential noise usually does not follow that pattern.
- Check tyre condition and pressure before anything else — a scalloped tyre imitates a failing bearing closely at low speed.
- Raise the corner and check wheel play at twelve and six o’clock, then at three and nine o’clock; play and roughness together point to the bearing, whereas play in one axis only can point to a suspension joint.
- Inspect the drum or disc for scoring and the calliper for drag, then confirm whether the noise persists with the brake applied.
- Where the axle allows it, compare rotational feel from side to side; a failing bearing usually feels rough or notchy rather than smooth.
How Do You Install a Rear Hub Assembly and Inspect a Delivery?
Installation care decides whether a correct part performs, and a short incoming inspection protects both the reseller and the workshop. Damage found at goods-in is a supplier conversation; damage found at the lift is a warranty argument.
Installation sequence for a rear hub assembly
- Confirm the part against the old unit before the vehicle goes on the lift: flange, bolt or stud pattern, encoder face and stub dimensions.
- Loosen the wheel fixings and the axle nut with the wheel on the ground where the design requires it.
- Raise and support the vehicle, remove the wheel, and release brake adjustment or remove the calliper and carrier as the design needs.
- Clean the axle beam mounting face, the stub axle and the register with a non-abrasive pad; remove rust ridges rather than packing them out.
- Check the stub axle for scoring, corrosion or wear where the seal lip runs, and renew a worn stub rather than only the seal.
- Fit the hub squarely by hand and bring it down onto the register without pulling it on with bolts and without striking the flange.
- Torque the mounting bolts or axle nut in the stated sequence and to the stated figure; never use the nut to pull the assembly home.
- Refit the brakes, check for drum or disc to hub interference, refit the wheel, and lower the vehicle before the final wheel torque.
- Road-test at low speed first, listen for roughness, and confirm the ABS lamp behaves normally.
Incoming inspection checklist
Inspection should be quick, repeatable and recorded. Most of it needs only a caliper, a clean bench and a hand spin of the unit.
| Check | What good looks like | What to reject |
|---|---|---|
| Packaging | Protected faces, parts immobilised, no movement damage | Torn cartons, loose parts, exposed races or seal lips |
| Marking and traceability | Number legible and consistent with the order and drawing | Illegible or missing marking, number differing from the approved drawing |
| Flange and studs | Studs pressed square to depth, threads clean and undamaged | Crooked stud, damaged knurl, cross-threaded hole |
| Rotational feel | Smooth rotation with light, even drag | Notchy or gritty feel, or excessive free play with end float |
| Seals | Lips intact, springs seated, no deformation | Deformed or cut lip, missing spring, grease weeping at the seal |
| Encoder | Ring complete, correctly positioned, surfaces clean | Scuffed ring, metallic debris, encoder type differing from the drawing |
| Dimensions | Bore, flange, offset and pitch circle match the confirmed drawing | Any dimension outside the drawing tolerance |
| Corrosion | Uniform protective finish, dry interior | Rust bands on races or bore, condensation marks inside the seal |
FAQ: 43402M68P02 and Rear Hub Bearing Selection
Is 43402M68P02 a bearing or a complete hub assembly?
It is a complete rear wheel hub assembly rather than a loose bearing pair. The flange, housing, bearing set, seals and encoder are supplied as one unit and are not individually serviceable. If your customer’s workshop expects to press in a bearing, they should be told the job is a bolt-on replacement instead. Confirm the exact configuration, including whether a stub axle is included, against the drawing and a physical sample.
Can I fit a hub unit whose OE number is different but looks identical?
Only after a dimensional and encoder comparison. Hubs that look identical can differ in flange offset, stud thread, brake register depth or tone ring type, and a small offset difference changes brake and wheel position. A catalogue equivalence is a lead, not a confirmation. Measure bore, flange, offset, pitch circle and encoder face against the drawing before committing stock to a number.
How long should a rear wheel hub last, and what shortens its life?
A sealed hub unit is greased for its design life, but service life depends on sealing and installation rather than on a fixed interval. Water ingress, a scored stub axle under the seal lip, over-torqued mounting bolts and impact during fitting are the usual causes of early failure. There is no re-greasing procedure; once a seal has passed contaminant, the unit is a replacement item.
Which documents should I request before confirming a wheel hub order?
Request the drawing or a dimensional sketch, the encoder specification, seal material, and your packaging and marking requirement including any private-label artwork. Where no drawing exists, send a new or used sample so dimensions can be verified. Treat the final specification as agreed by drawing and sample, and keep the approved sample as the reference for incoming inspection.